Photo framing guide
How to Frame a Wedding Photo
A wedding photo deserves more than a quick frame from a shelf. Choose the crop and size first, then use the mat and moulding to make the memory feel at home with the room.
01
Start with the original file
Use the highest-resolution version from the photographer or gallery rather than a social-media download. Keep the crop loose enough to preserve expressions, dress details and the atmosphere around the couple.
A portrait orientation can emphasize the couple and setting, while a landscape crop can include the ceremony space or wedding party. Let the photograph’s story decide.
02
Give a meaningful photo room to breathe
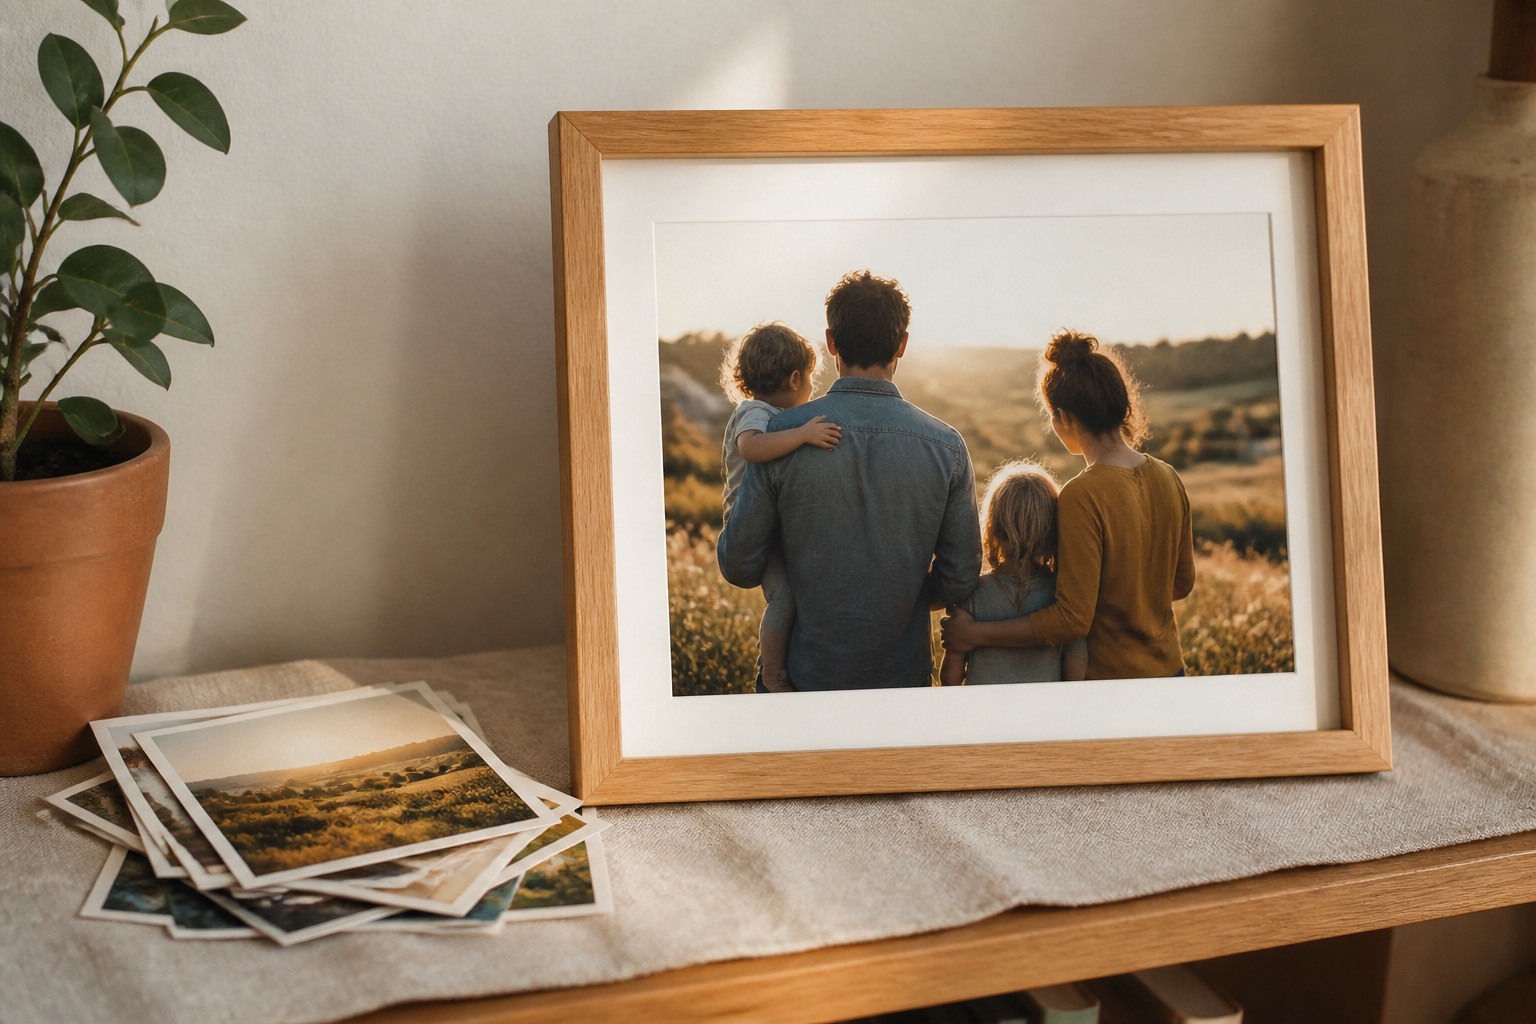
A mat makes a wedding photograph feel more like a piece you will keep than a temporary snapshot. Warm white is forgiving with skin tones, cream details and natural wood furniture.
For a single hero image, choose a larger outside frame than the paper size. That gives the memory enough presence above a dresser, console or bedside table.
03
Choose a frame that will age well
Natural oak brings a relaxed warmth to family photographs. Matte black feels more editorial and works well with black-and-white images. Avoid chasing a wedding color exactly; choose a profile that will still suit the room years later.
See it before you order
Put the advice into a real frame.
Upload your picture, compare frame profiles and mats, and check the finished proportions before you commit.
Open the frame builderCommon questions
What is the best size for a framed wedding photo?
Choose a size that fits the wall and the importance of the image. A mat and larger outside frame can make a favorite 8×10 or 11×14 photo feel more substantial.
Should a wedding photo have a white or cream mat?
Both can work. Clean white feels crisp and classic; warm white or cream can feel softer with natural wood, vintage tones and warm room colors.