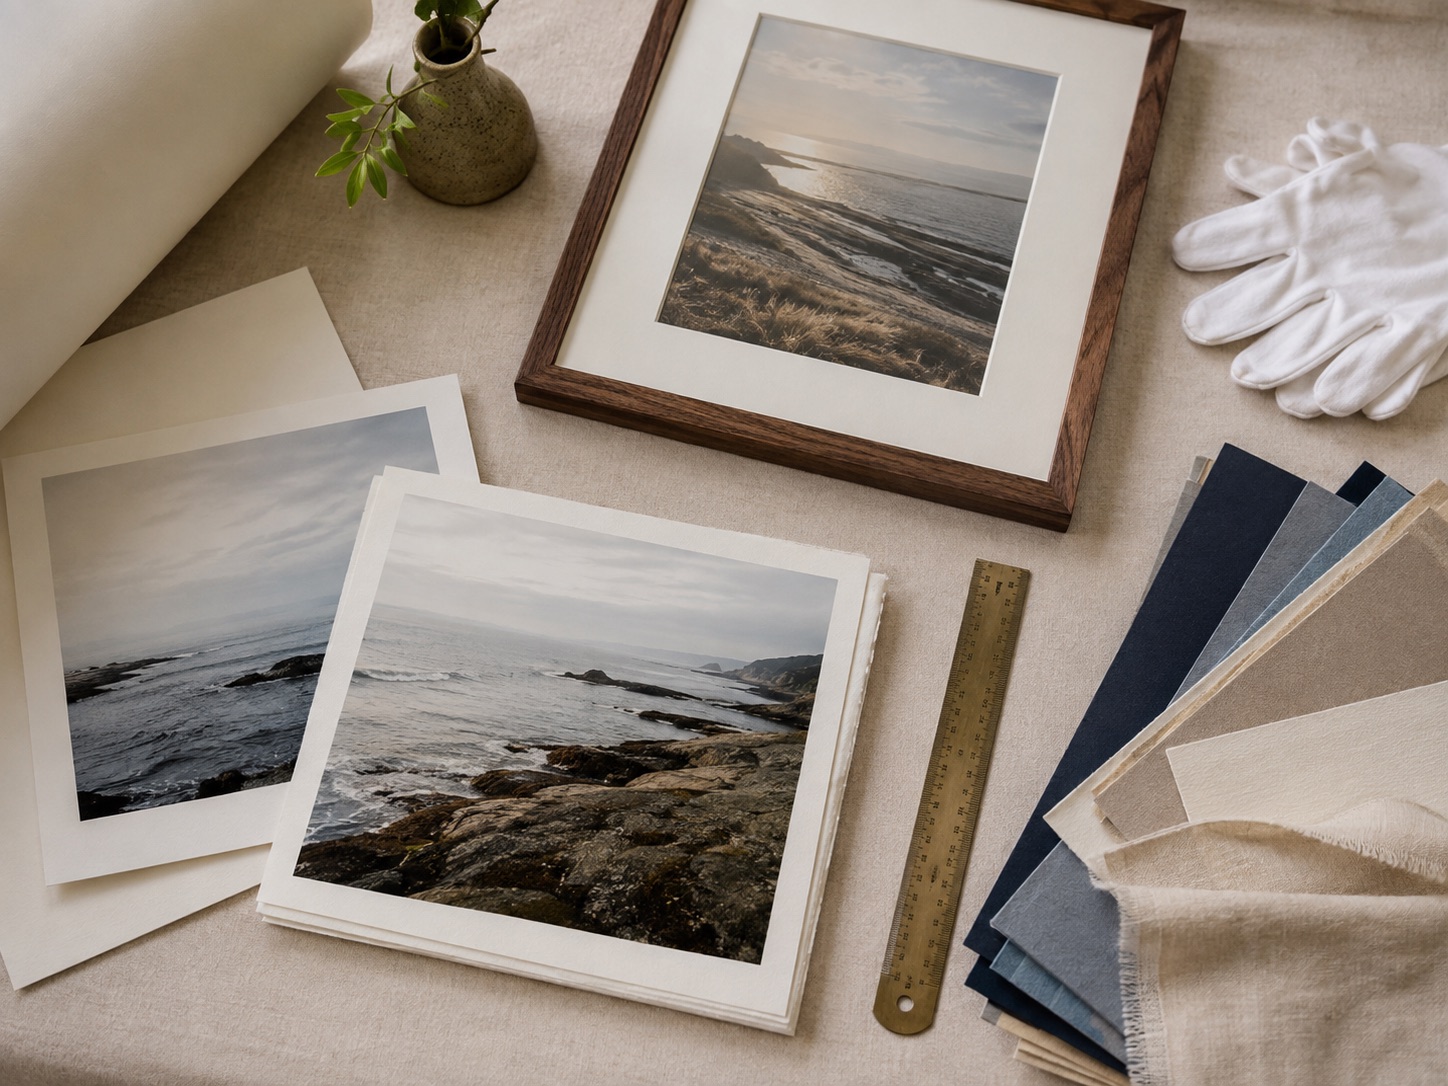
Photo printing guide
How to Print a Photo from Your Phone
Your phone can capture a beautiful print, but the file you send matters. Use the original photo, check the crop and choose a finished size that matches its pixel dimensions.
01
Find the original, not a screenshot
Use the full-resolution file from your camera roll or cloud photo library. Avoid screenshots, social-media downloads and messaging attachments because each step may reduce the pixel dimensions or add compression.
If the photo was shared with you, ask for the original file or download it at full size. Keep the original untouched and make a separate crop for the print.
02
Crop for the frame you want
Choose the print size before you crop. A phone photo may be tall, wide or close to square, while common frames use ratios such as 4:5, 2:3 or 1:1.
Move the crop away from faces and important edges, then review the image at the final visible opening. If the crop is tight, a mat can give the composition more breathing room without changing the photo itself.
03
Make the print feel like a finished object
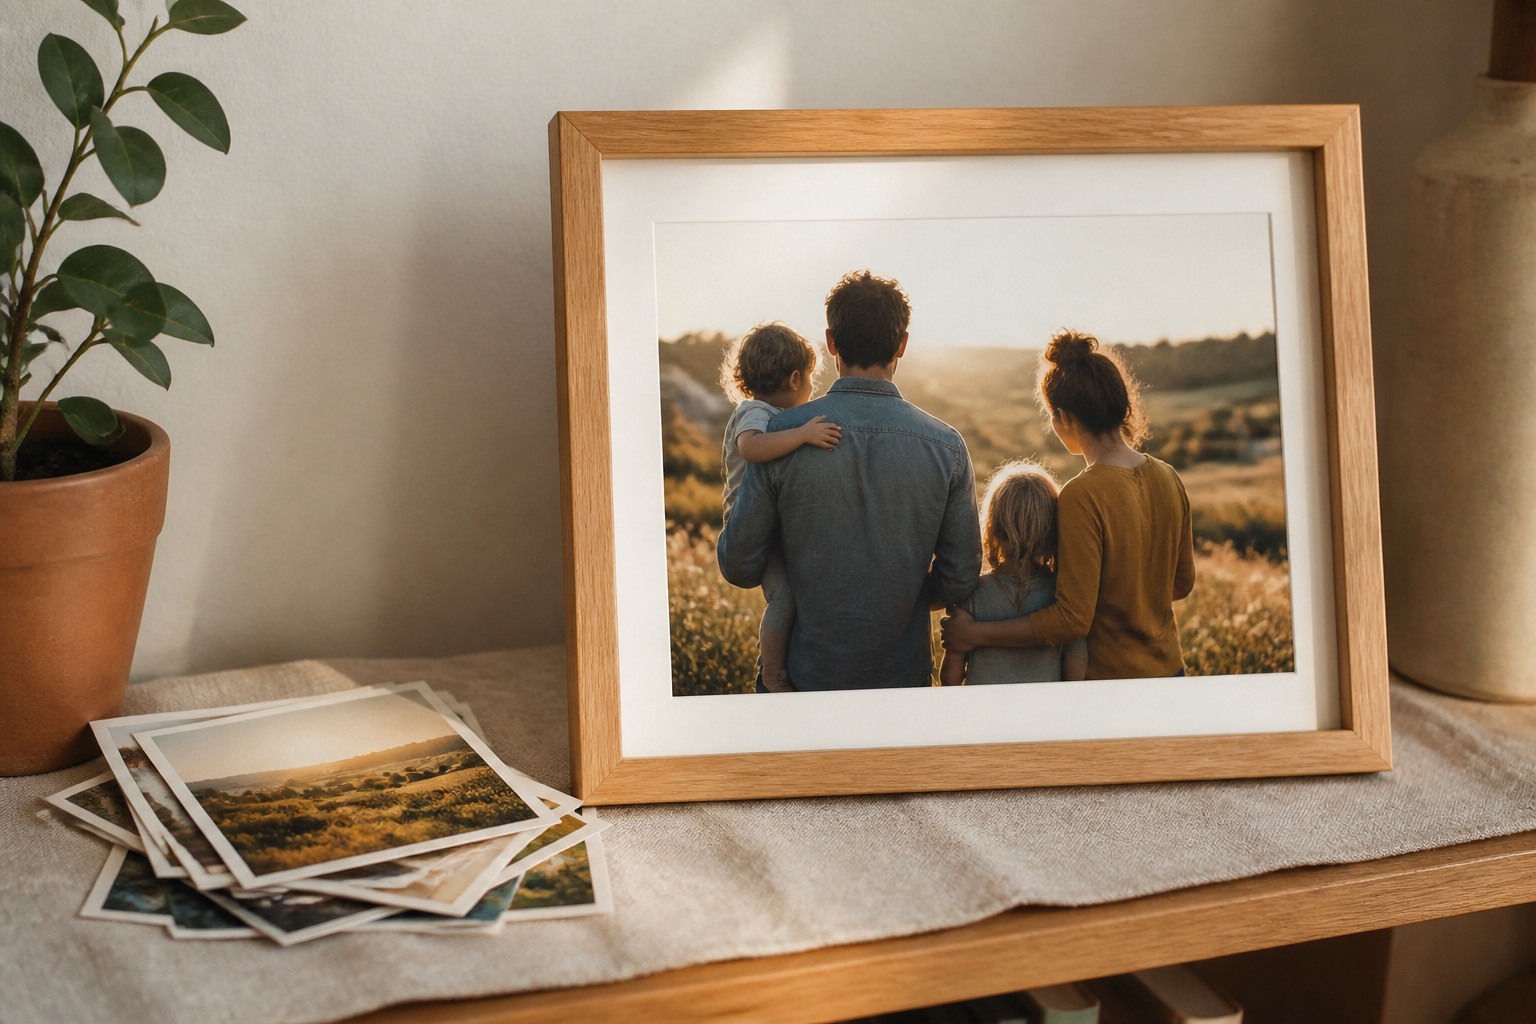
Matte or lustre paper is a practical starting point for a framed phone photo. Add a warm white mat for portraits and family pictures, then choose a moulding that relates to the room rather than the phone case or editing filter.
See it before you order
Put the advice into a real frame.
Upload your picture, compare frame profiles and mats, and check the finished proportions before you commit.
Open the frame builderCommon questions
Can I print a photo directly from my iPhone?
Yes. Upload the original photo to a print service or framing builder, check its resolution and crop, then choose the paper and finished size.
Why does my phone photo look blurry when printed?
The file may be too small for the selected size, out of focus, compressed or enlarged beyond what its detail can support. Use the original file and check it at the intended print size.